If you’re looking for a way to add a little extra interest to your knitting, grafting is the way to go! Grafting is a great way to join two pieces of knitting together, and it’s surprisingly easy to do.
I’m going to show you how to graft garter stitch, step by step. With my tips, you’ll be able to master this technique in no time. Let’s get started!
Introduction
Grafting is a technique used to join two pieces of knitting together so that it looks seamless. It is often used to join the ends of a piece of knitting together, or to add new pieces of knitting to an existing piece. Grafting can be done with any type of stitch, but garter stitch is one of the easiest to graft.
Here are some tips on how to graft garter stitch:
- Firstly, you will need to make sure that both pieces of knitting that you are grafting together are the same length. If they are not, then you will need to adjust one of the pieces so that they are both the same length. This can be done by either adding or removing rows of knitting, or by adjusting the tension so that one piece is longer or shorter than the other.
- Secondly, you will need to thread a tapestry needle with a contrasting color yarn. This will make it easier to see your stitches as you graft them together.
- Thirdly, you will need to hold the two pieces of knitting with the right sides facing each other. You will then start at one end and work your way towards the other end, grafting each stitch together as you go.
- Fourthly, when you reach the end, you will need to weave in all your ends so that they are secure and invisible.
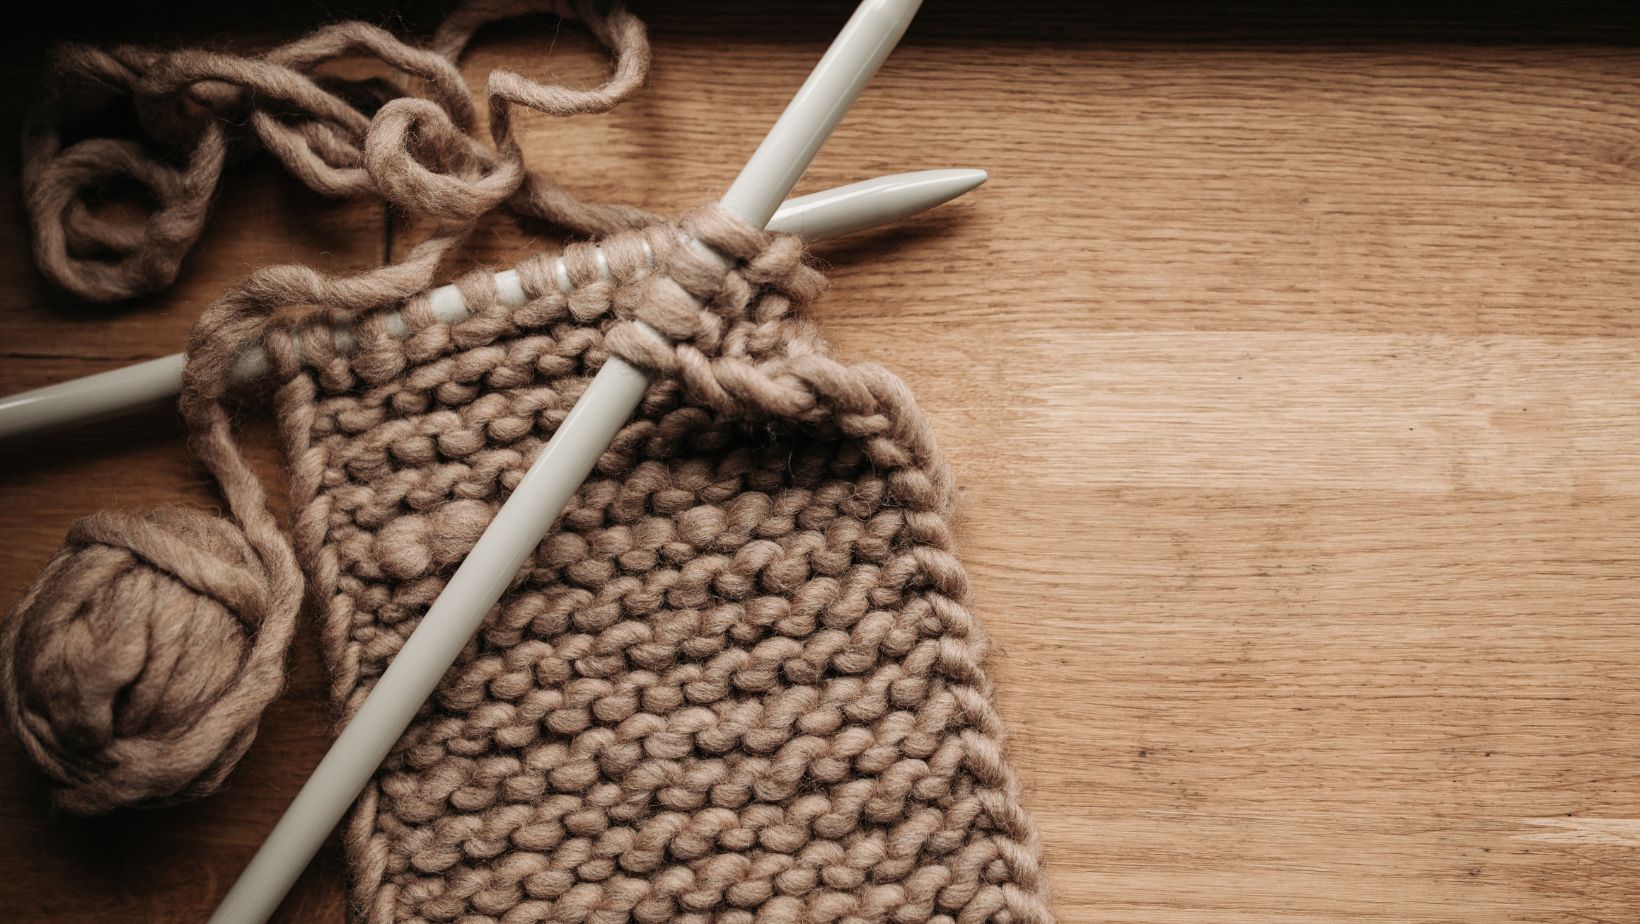
What is Garter Stitch
Garter stitch is the most basic of all knitting stitches and is produced by working every row in knit stitches. Because only knit stitches are used, garter stitch has a tendency to curl at the edges. The resulting fabric is dense and less elastic than fabrics produced with other types of stitches such as stockinette and ribbing. Garter stitch is often used for edgings, borders, and triangular shawls as well as various articles of clothing such as scarves, baby blankets, and afghans.
Why Graft Garter Stitch
Garter stitch is one of the most basic knitting stitches, and is often used for projects like dishcloths or baby blankets because it creates a firm, dense fabric. However, because garter stitch is not a reversible stitch pattern, it can be difficult to graft (or “Kitchener”) the live stitches together invisibly.
There are a few reasons you might want to graft garter stitch:
- f you’re knitting a project in the round and need to add new yarn (for example, when working stripes), you can graft the new yarn onto the old yarn rather than creating a visible seam.
- If you’re knitting a project in garter stitch and need to cast off (for example, when finishing a dishcloth), grafting the live stitches together will create an invisible seam.
- If you’re trying to match up two pieces of garter stitch fabric (for example, when seaming a sweater), grafting will create a nearly invisible seam.
Tips for Grafting Garter Stitch
Garter stitch is one of the most basic and accessible knitting stitches, making it a great choice for beginners. It’s also very versatile, lending itself well to a wide range of projects. If you’re looking to add a bit of texture to your knitting, grafting garter stitch is a great way to do it.
Grafting garter stitch is very similar to grafting stockinette stitch, but there are a few key differences to keep in mind. First, because garter stitch is reversible, you’ll need to be sure to match up the right sides of your work when you graft them together. Second, because garter stitch is less elastic than stockinette, you’ll need to take special care not to pull your graft too tight.
Here are some tips to help you get started:
- To begin, take a close look at your work and familiarize yourself with the stitches. You’ll need to identify the “knitted” side and the “purled” side of each stitch. In garter stitch, these sides are often easy to tell apart because the knitted side is usually facing outwards (towards you) and the purled side is facing inwards (away from you). However, it’s still a good idea to take a moment to check before you start grafting.
- Once you’ve identified the right sides of your work, align the two pieces so that they are held together with the right sides facing each other. You’ll then need to thread a tapestry needle with matching yarn. It’s important to use matching yarn because you want your graft seam to be as invisible as possible.
- To begin grafting, insert your needle into the first stitch on one piece of fabric as if you were going to knit it. Then insert the needle into the first stitch on the other piece of fabric as if you were going to purl it. From here, alternate between “knitting” and “purling” stitches until you reach the end of both pieces of fabric. Be careful not to pull your stitches too tight – garter stitch can be quite forgiving, but if you pull too hard it will start to pucker and warp out of shape.
- When you reach the end of both pieces of fabric, cut your yarn and weave in any loose ends so that they are secure
How to Graft Garter Stitch
Grafting is a technique used to join two pieces of knitting together using a needle and yarn. It is often used to join two pieces of knitting in the middle of a row, or to close up a hole in your knitting.
Grafting can be tricky, but with a little practice it’s not difficult to master. The key is to be patient and take your time. Follow the steps below and you’ll be grafting like a pro in no time!
- Begin by holding the two pieces of knitting that you want to join together with the right sides facing each other.
- Thread a length of yarn onto a tapestry needle.
- Start by threading the yarn through one of the outside loops of the first stitch on one of the pieces of knitting (piece A). Then thread the yarn through the corresponding loop on the other piece of knitting (piece B).
- Now thread the yarn through the next stitch on piece A, then through the corresponding stitch on piece B. Continue in this way until all stitches have been threaded onto the yarn.
- Once all stitches have been threaded onto the yarn, pull gently on both ends of the yarn until both pieces of knitting are snug against each other. You may need to adjust your stitches slightly so that they line up evenly.
- To finish, weave in your ends and trim excess yarn.
Conclusion
Garter stitch is one of the simplest knitting stitches, and it’s also one of the easiest to graft. When you graft garter stitch, you create an invisible join that’s nearly indistinguishable from the rest of the fabric. Grafting is often used to close gaps in knitting, such as the toe of a sock, but it can also be used to add new sections of fabric, like an extra panel to a sweater.
To graft garter stitch, you’ll need to use a tapestry needle and matching yarn. If your project is small, you can use the tail from your last stitch; if it’s large, you’ll need to cut a new piece of yarn.
Start by holding the two pieces of fabric together with the right sides facing out. (If you’re not sure which is the right side, look at the stitches – they should all be facing the same direction on both pieces.) Align the edges so that they’re flush with each other, then thread your yarn onto the tapestry needle.
Further Reading
If you’re looking for more information on grafting garter stitch, there are a few resources that can help you out.
First, knitting expert Eunny Jang has a great tutorial on grafting garter stitch that covers everything from the basics to more advanced techniques.
If you want to learn more about the history of grafting and its place in modern knitting, Clara Parkes has written an excellent article on the subject.
Finally, if you’re still having trouble getting the hang of it, this video from Stone Mountain & Deer Valley offers a step-by-step visual guide to grafting garter stitch.